How to use Features module to create a Drupal Distribution
As a developer, which I assume you are, there is nothing more boring than coding up the same thing, over and over again. You just finished making a website with a lot of interactive features. As soon as this ends another client comes to you and asks for one of the similar features to be included in their website. Now, the only options you are left with is to either copy and paste the code or to rewrite it, none of which sounds fun.
How does Drupal solve this?
What are Features and what is Features module?
There are a lot of functions and functionalities that are part of the websites which provide us with different uses. Be it a search bar, menu, maps or a webform. These components that make up a whole website, are called Features. A website can contain any number of features, limited only by the requirement of the client and imagination of the developer.
Drupal provides you a way with which you can create a feature and use it as many times as you want without having to write another line of code. The tool that makes it happen is called the Features module.
Easy, right?
And what do Distributions do?
A distribution is just a customized version of Drupal that comes with all different packages that one might not get with Drupal core. In the hindsight, it may not seem like much but distributions are very useful but you get a mini package of Drupal in which all of the hassles regarding the features you need is already taken care of.
As you have a basic idea about the terms we will walk through a step-by-step process to install Features module on your Drupal installation.
Instaling the Features Module
- Using the GUI
- On the homepage of your Drupal website, click Extend on the admin bar.
- The features module is not provided along with the core Drupal modules, So, click on "Install New Module" to install.

- Now, you will see something like the following figure on your screen. You will be asked to provide the path from where the module can be installed. You can provide a direct path to a website or you can first download the module from Drupal website and then browse it.
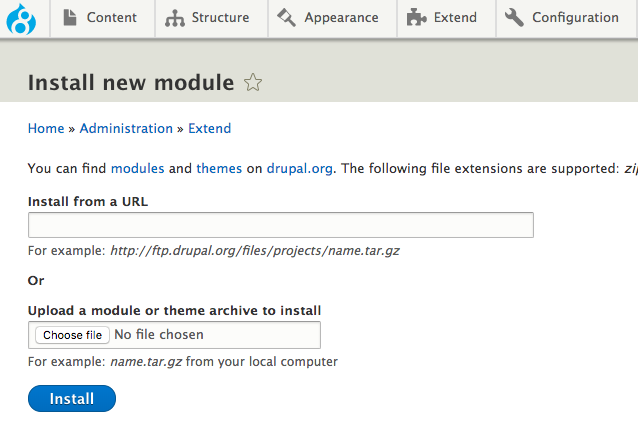
- In case you want to upload the module from Drupal.org simply paste the link. In case you are uploading the module, select the module folder (that is available to you as .tar or .zip folder). Click Open.
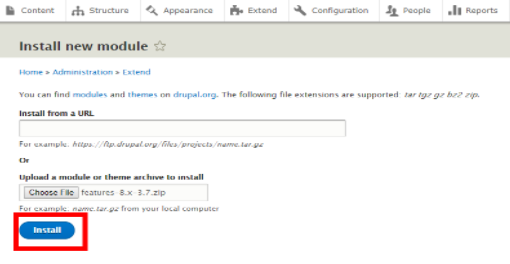
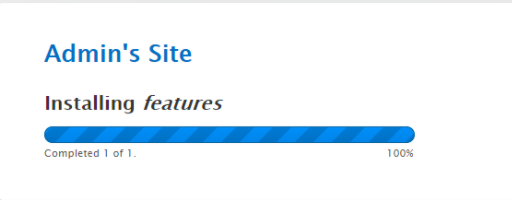
- Click Install. You will see a progress that shows that your module is being installed.
- When your module is successfully installed, you will see a congratulatory message on your screen. Now, you can go ahead and click on enable new modules.
- You will be redirected to the extend page again. Search for your installed module using the search bar. When you find your module, just click the checkbox in front of it.
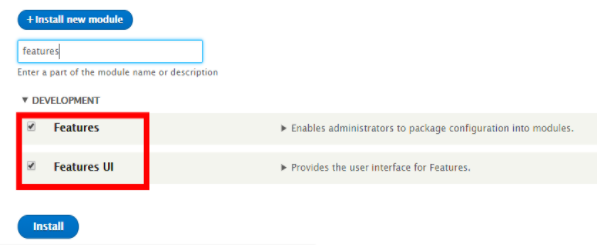
- Now, all you have to do is navigate to the bottom of the page and click Install.
- When your module is successfully installed, you will see the following message on your screen.
- Using Drush
You can also download the module using Drush.
Just go to your site folder in terminal and type:
drush dl features
That will download the module. To enable the module, type: drush en features -y
Issues that you may face
While enabling the module, you may find out that you are unable to select the checkbox against the modules. Let's see how we can solve it.
- Finding out the problem.
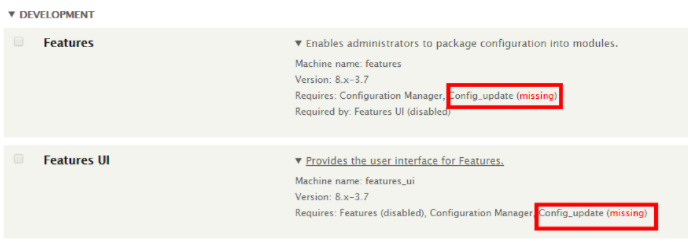
Click the drop-down arrow in the module description. Your screen may look something like the image below.
There it is. Some of the dependencies are not installed.
- Resolving the problem
Just go ahead and install dependencies the same way we installed the features module. In my case, it was the config update module. So, I just downloaded and installed that and here you are good to go.
Now, that you have successfully installed the module, let's move ahead and create our first feature.
Creating a new Feature
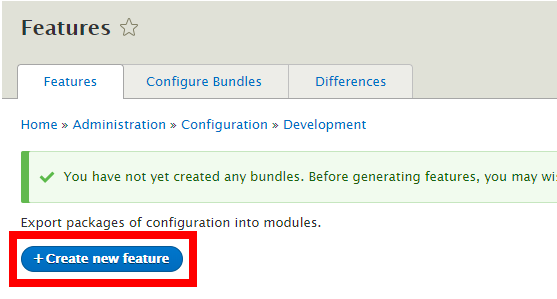
To start creating your very own and very first feature, you first have to navigate to the Features option that you can find at the following place:
Extend > Features UI > Configure > Features

After selecting the features tab, your window will look something like the image below. Select the "Create New Feature" option.
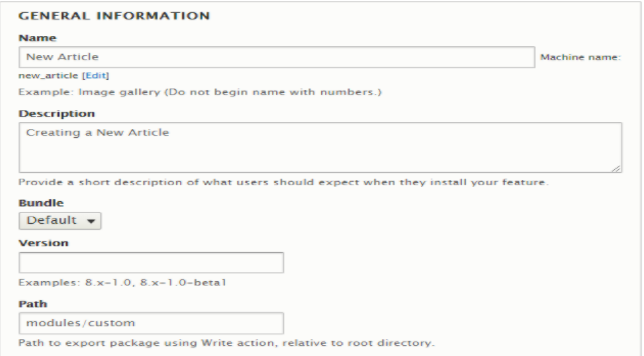
- Fill in the name and description of the module. You can also assign a version, but that is up to you because it is optional.
- Edit the components, and select the components that you want to be packaged as a part of the feature.
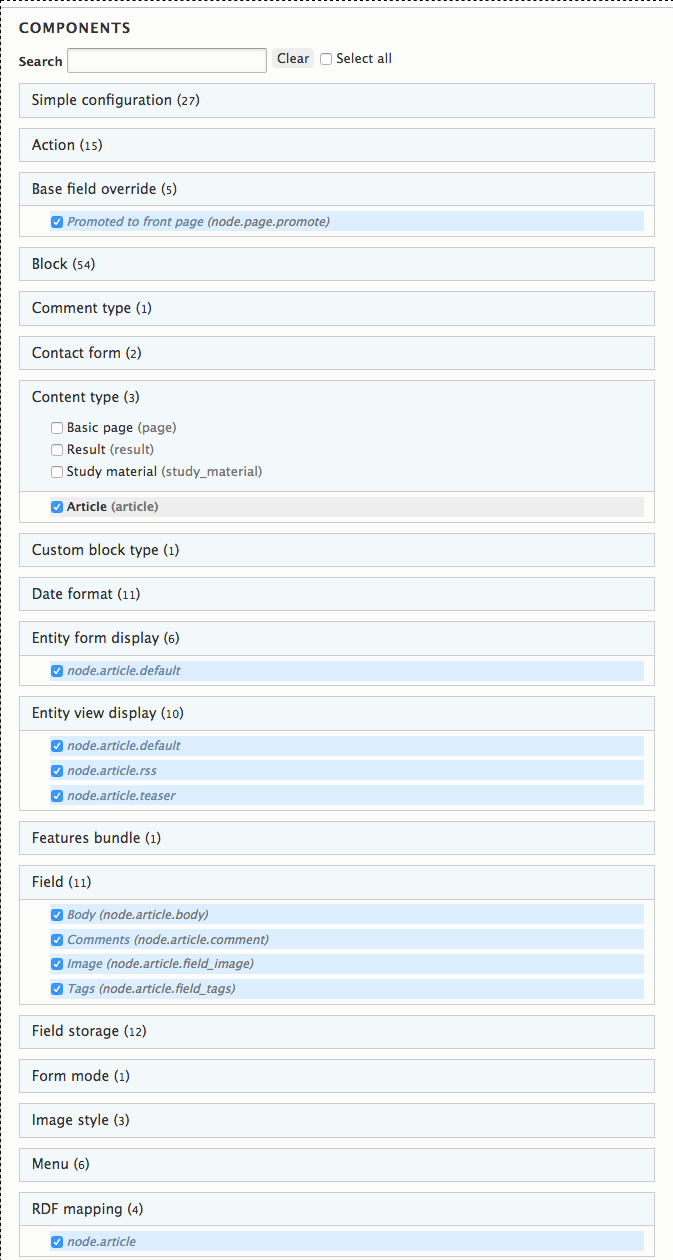 Here, we select the components as 'Article' form content type, some of the components that are needed for an article are automatically selected.
- Click on 'Download Archive' and you will get the whole feature as zip folder that has the same configuration like your machine's.
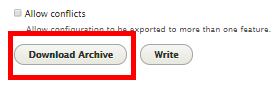 There you have it. You have created your first feature that is ready to be exported. You are, now, equipped to tweak with the things a bit and learn as you go.
To Conclude
In this tutorial, you learned about Features module and how to create features. If you still wonder "Why Features?", its because it is "making development fun again".
Let us know in the comments below what features your distribution has.

Join Our Newsletter
Love open-source tech? Stay updated with projects that make a difference.