How to use Demo module in Drupal 8
Going back to some moments in your life is not possible but setting back your Drupal site to any particular date is. That's because unlike your life your Drupal website has Demonstration Site module (popularly known as demo module).
Drupal has a complex core structure and it is possible that your site breaks down due to the heavy code repository, security issues or when troubleshooting an incident. The module allows the site admin to create snapshots of the regular backup updates and configuration settings of your Drupal site. This assists you in keeping a track of everyday changes in the backup.
Regularly saving the snapshots plays an important role as it helps in identifying issues and state of the website at every stage. Also with demo module, you can save any number of snapshots.
It provides two kinds of snapshots.
-
Database Snapshot
It allows users to save the current snap of the whole database as a .sql file and also provide .info file which includes the list of modules which are included in your site. You don't have to manually restore the database while also providing you a user interface to restore the database.
In case you want to create a duplicate of your site, then both .sql and .info file are useful. The .info file helps you make sure that you have all your non-core modules installed with similar functions of the new site.
-
Configuration Snapshot
An extension of Drupal core Configuration Synchronization it allows a user to take a snap of the site settings. With configuration snapshot, you can save all the settings in your private directory. And this is available for each module present on your website. When you want to restore those settings, it also presents the comparison with respect to that snap and then restores back to the config in that snap.
Installing The Demo Module
- Step 1: Clone the Demo module in your module directory.
git clone --branch 8.x-1.x https://git.drupal.org/project/demo.git
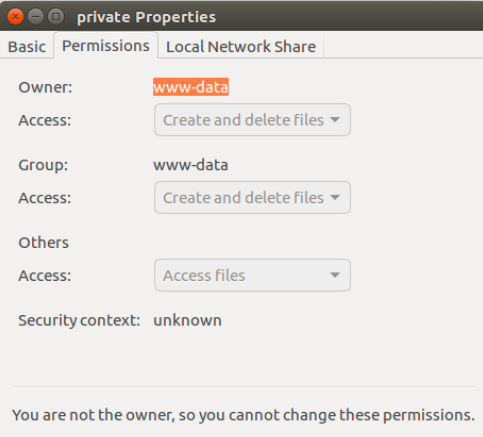
- Step 2: Go to Sites >> Default >> Files >> Create folder
I have named my folder as ‘private’.

And make sure this folder has read and write permission to the web users. In case it doesn't, then run the following command from the terminal from your files folder.
sudo chown -R www-data:www-data private
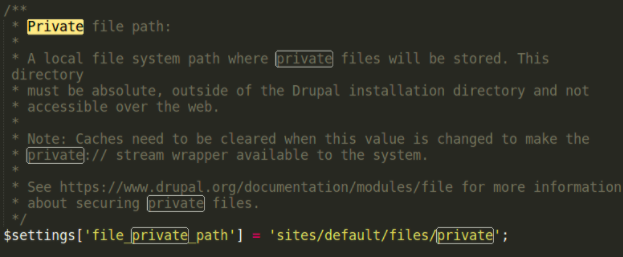
- Step 3: In default folder, set private file path in settings.php as:
$settings['file_private_path'] = 'sites/default/files/private';
- Step 4: Go to Admin >> Extend >> Enable Demonstration Site module.
That’s all, you are now all set to use this module
Using the Module
- Database Snapshot
Step 1: Go to Admin > Snapshots > Database (admin/structure/snapshots/demo)
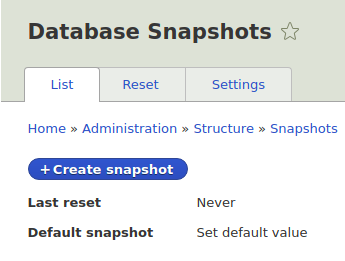
Step 2: It's time we create our snapshot. The following page will show the list of all the Database Snapshots. Click on “+ Create Snapshot”.
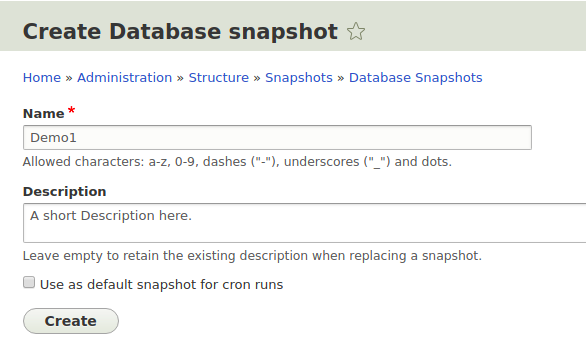
Step 3: Enter the name for the snap and provide a description (this field is optional). If you want this snap as your default then select the "use as default snapshot for cron runs" option.
Step 4: Click on Create to make the snapshot. The snapshot created will be displayed something like the one given in the image below.
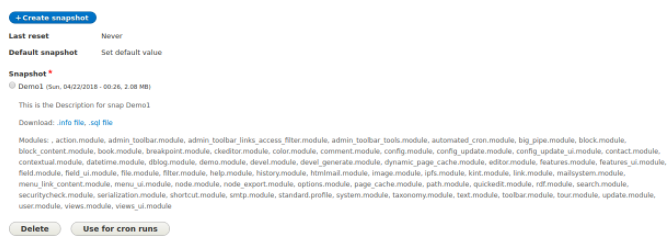
And the .sql file and .info file is created in your private directory with the same name as your snapshot.
Now if you want to restore your site to your saved snapshot, then Click on reset tab and select the snapshot file and click on Reset Now.
- Configuration Snapshot
Step 1: Go to Admin > Snapshots > Configurations (admin/structure/snapshots/config)
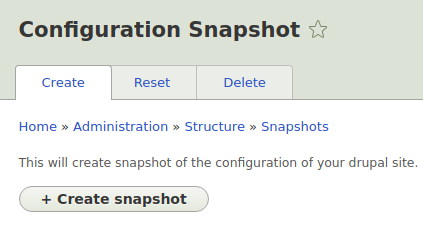
Step 2: Click on + Create Snapshot, a snapshot will be created, saved and stored in your private directory with the name: "config-hostname-currenttime.tar.gz".
Step 3: When you want to restore the configuration snap, click reset tab >> select tab >> select the snap >> click reset now.
Then next page will show the differences your current site's configuration have with respect to the snap.
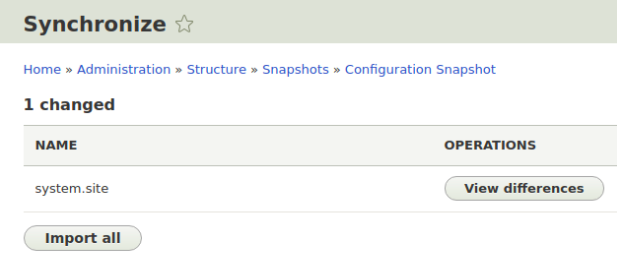
In my case, the only difference was system.site.yml file.
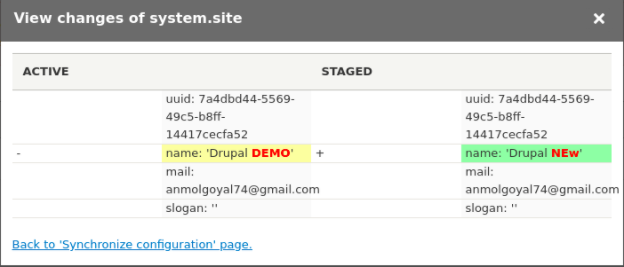
Step 4: Finally Click on Import to import the setting from your snap to override your current settings.
The Demo module is supported by OpenSense Labs. You can also contribute by fixing the issue. Connect with us, drop a mail at [email protected] to know how else we can help you with awesome modules and distributions.

Join Our Newsletter
Love open-source tech? Stay updated with projects that make a difference.