
HowTo: Create a List of Random Items in Drupal 8

Sourav
Drupal
Published on 13 Jul, 2018
3 min read
Drupal allows you to organize content into taxonomies. It dynamically creates pages with list content that has been categorized further. By default, Drupal organizes contents based on post date. The most recent content will appear first.
However, what if you want to create a custom order? Not based on post date, title or user but purely custom.
In this blog, we will learn to use the Entityqueue module to see how to set a list of content in a non-regular fashion.
Module Installation
Using Composer and Drush is the best way of installing a module.
Install using Composer:
To install with Composer run the command on the console:
composer require 'drupal/entityqueue:1.x-dev'
Install using Drush:
drush dl module_entityqueue
Now you need to enable the module. For that go to Extend, search the module, and enable it.

Adding an entity queue
Now we need to configure a few things for Entityqueue to use.
- Go to ‘Structure’ → click on Entityqueue
If you are configuring the first time, you need to add an entity queue. Else, you can also work with the existing one.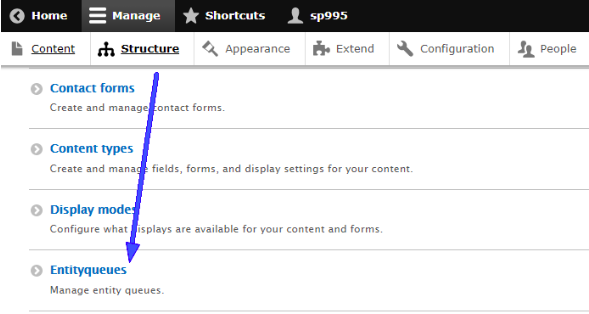
- Now Add Entity Queue page. Give a name for your Entityqueue and choose a type - Multiple sub queues or single Queue.
- In a single sub-queue, you can directly add items whereas in multiple sub-queues you can add multiple sub-queues which hold different items.
Entity Settings
When exploring the 'entity type' following are some of the options you will come across:
- Type of items to the queue: Choose a type of item you want to queue from the drop-down. Let’s opt for a content type.
- Reference method: Refer a view with an Entity Reference display. Set the reference by default.
- Content type: Select a content type. Let’s choose the article here.
- Sort by: Set as none. We will add this in View.
Queue Settings
When exploring the 'queue settings' you can set a range for the queue with minimum and maximum items.
Reverse order in admin view: This will display the queue such that the items will be added to the top and removed from the bottom.
Creating View for the Content Type
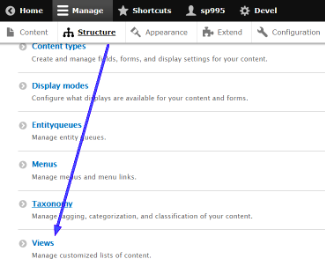
- Go to structure → click on View → Add View.
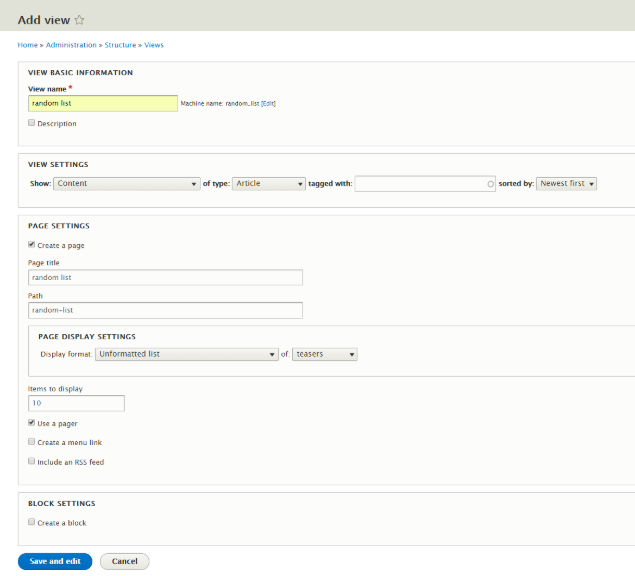
- Configure the View for creating an arbitrary list.
- Add a view name to view basic information section. And give a description by just checking the option description. Add the information as you need, and click Save.
You have successfully created your view.
Configuring View
Now its time to configure the view.
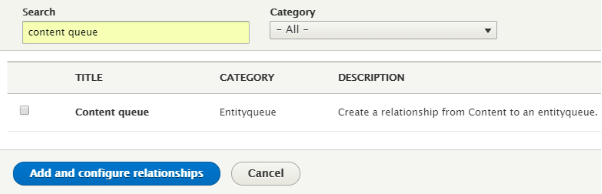
Relationships: When you go to the advanced section, you will see the option of relationships. Click on Add Button on the same row of Relationships. A popup will come and here you have to search for the content queue and click on Add and configure relationships.
You can see the specific entity queue that you have created earlier. Enable the relationship option which hides item those don’t have the relationship.
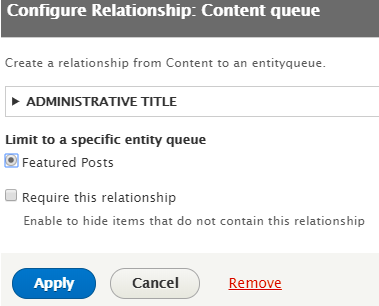
Then click on Apply.
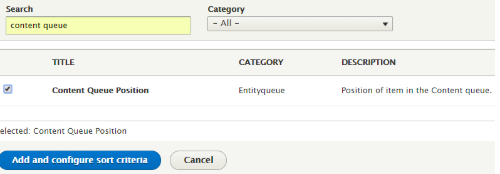
Sort Criteria: Next, you need to add short criteria for Entityqueue. Click on Add button beside Sort criteria. A popup will appear where you need to select the option of Content Queue Position and enable it. Remember that you must remove all other existing criteria.
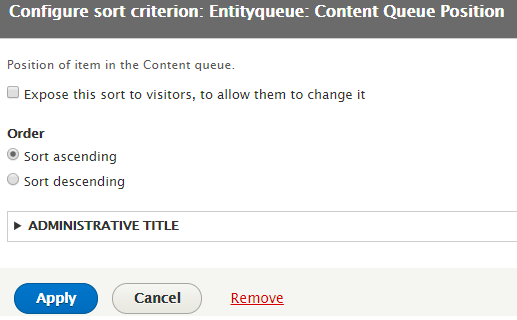
Configure the sort criterion: Here you can select the ordering (asc/dsc) for the position and can expose this sort to the visitor to change it. Then click on Apply.
Configure Entityqueues
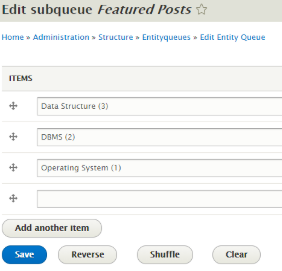
Configure Entityqueues to use. Go to ‘Structure’ → Entityqueues → Edit Items on the same row of Queue that you have created

Edit the subqueue Featured Posts.
Here you can add items as many you wish by just clicking a button Add another item. Then click on Save.
Cheers!! You have successfully created Entityqueue for your content.
Now test the results. Select Edit Subqueue to arrange the article by dragging them up or down.
That’s it! You’ve successfully integrated Entityqueue in Drupal site. Let me know in the comments what our list comprised of.
Subscribe
Related Blogs
What is HTMX & How it Works for Server-Driven Web Interfaces?

“HTML was designed to explain user interactions. HTMX pushes that behavior back where it started, the markup itself." This…
DrupalCon Chicago: Key Product & AI Updates

“The DrupalCon Chicago keynote looks back at Drupal’s 25-year journey while outlining how the platform is evolving. It…
DrupalCamp Delhi Returns After 6 Years: Here’s What to Expect

“After the COVID period, this marks the first time the camp is returning to Delhi. Over the years, the camp and the local…