Addresses have been vital since age unknown. Although the modern times have sorted a lot of things, the complexity, when finding an address, has only increased. With the advent of modern e-commerce finding the accurate location has become quite cumbersome, if it was not for easy to download apps.
Proper formatting of addresses of different countries is a tiresome work if the user needs to put in every unit of address. In order to avoid this repetitive job, Drupal has address module.
The module really makes storing, validating, displaying and publishing of addresses – international postal locations – efficient and uniform by providing a readymade input form with all the necessary fields included. It supports address formats for 200 countries and subdivisions for 40 countries. In a typical address data model, all or some of the following properties may exist.
- Given name (First name)
- Additional name (Middle name / Patronymic)
- Family name (Last name)
- Organization
- Address line 1
- Address line 2
- Postal code
- Sorting code
- Dependent Locality (Neighborhood / Suburb)
- Locality (City)
- Administrative area (State / Province)
- Country
Note: To install this module one must use Composer or Ludwig because of the requirement of external libraries.
Implementing this module requires the addition of a new field of type Address which will be available through the drop-down menu once the installed module is enabled. After entering a name for the Label hit on save and continue button.

- The next page lets us configure the number of addresses allowed to be stored on a single page under the same label.
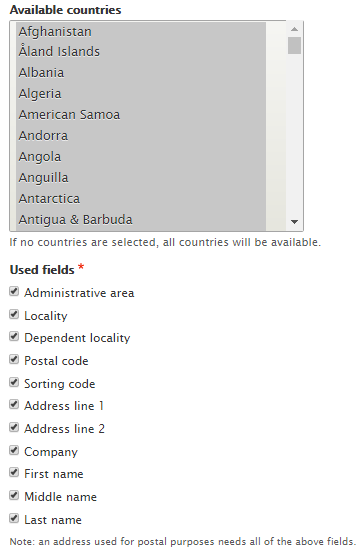
- In the following page, we can select the countries which we want to include. Not selecting any country would result in all the countries to be available. Things are sorted for the international brands.
- Below the country selection box, we can also edit the number of address attribute fields that will be mandatory to be filled when any country is selected.
- Just save the settings.
When creating any content, an address section would appear and after opting for the desired country, the fields to input address would appear accordingly.
The module can also be made to work along with the Geocoder and Geolocation module to display latitudes/longitudes or a map. Drupal provides for easy integration among these modules.
Integrating Geocoder
Geocoder can detect addresses inserted by the user and display the latitudes and longitudes associated with the same. It basically converts postal locations into geographical data. In this blog, we will see how to integrate geocoder with the address module. Initially, we navigate to;
Home >Administration >Structure >Content types >Content (A field created for displaying Geocode information) >Manage fields
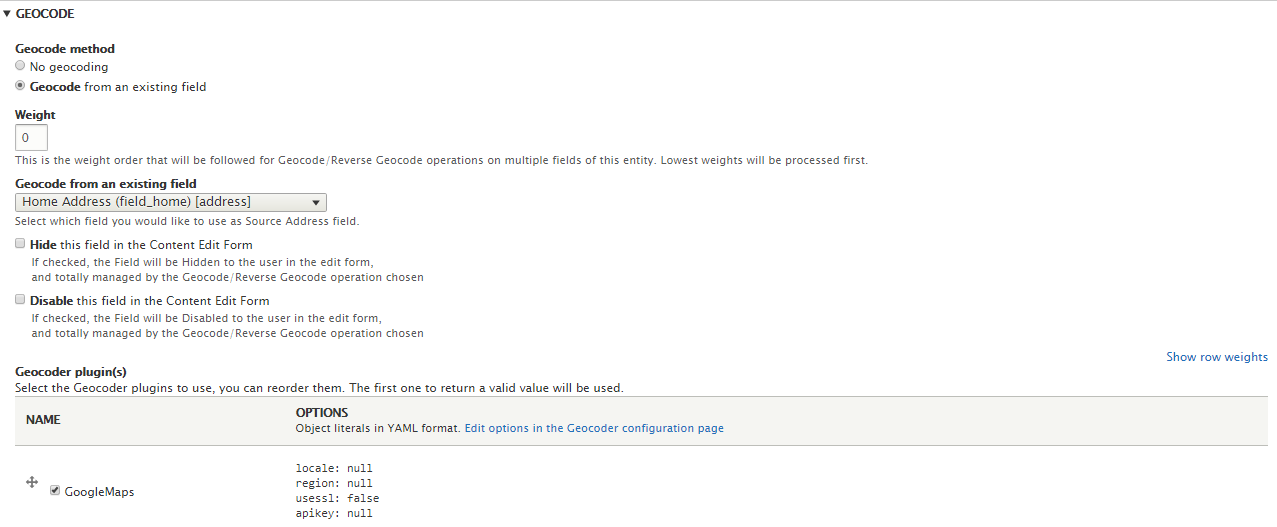
- Scroll down to the Geocode section and opt for Geocode from an existing field.
This further extends the menu revealing the options for source fields.
- The next step is to select the desirable geocoder plugin from the list of available plugins.
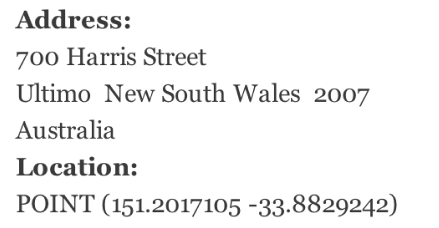
Geocoder would display the coordinates of the inserted location in the address field as shown below.
Integrating the Geofield
The Geofield module is used to store geographic data in various formats. To set up the Geofield, we need to create a field and select a relevant name. Changes are saved after hitting save and continue.
- The next field allows us to set the allowed number of values, after saving the changes you will be directed to another page.
- In this case, we can set the default value which will be used if no custom values are acquired.
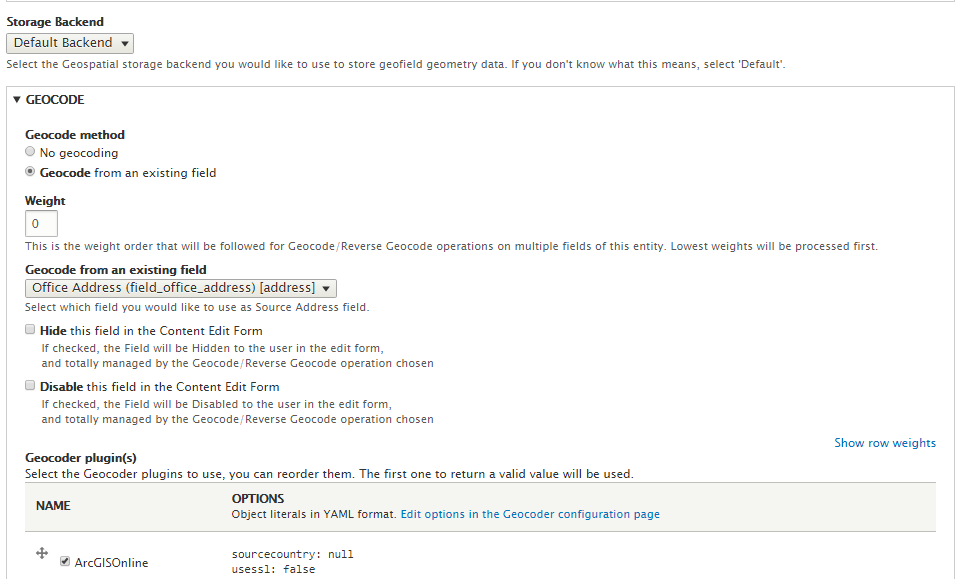
- In the Storage Backend setting, we can select the method that will be used to store the data. Although this setting can be left at default, one can also select from the various options in the drop-down menu.
- Next, we need to scroll down to the geocode menu and select Geocode from an existing field i.e. the field where the address is being stored and select a geocoder plugin from the available list of geocoder plugins. Now, click on save settings.
Configuring the Geofield - In the manage form display, locate the associated Geofield and change the widget to Geofield if only the coordinates are to be displayed or to Geofield map if the map needs to be displayed.
- Then, we navigate to the next tab i.e. the manage display tab and select Geofield map option from the format drop-down menu. We can customize the behavior of the map by clicking on the gear located next to the format option of the corresponding row and click on save.
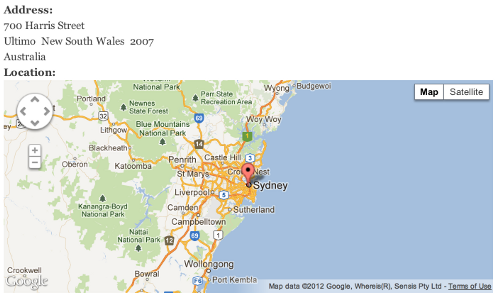
Geofield displaying location on a map - Now, when we enter any address, the geocoder module will geocode the address and the Geofield module will generate the map or coordinate relevant to that address.
- As we can see that the address module can easily be integrated with other modules to improve the functionality and practicality. It also decreases the time required to enter an address by presenting a ready-made address format.
For any further queries, feel free to comment below or mail us at [email protected] . We would be happy to help.
Subscribe
Related Blogs
Drupal Debug: Effective Techniques And Tools

Today, we will discuss how to do Drupal Debug. This means getting the tools and methods to turn complex issues into workable…
Drupal SDC v/s Storybook: What’s The Difference?

One helps you set up your UI components, and the other allows you to work with them. we are exploring Single Directory…
Starshot: Drupal’s New CMS Initiative

The Drupal community is excited about the Drupal Starshot project, which aims to update and improve the Drupal experience…


