The internet is a wild place. You never know who’s on the hunt for vulnerabilities of your site. In fact, the moment you deploy your application on the web, you are inviting all sorts of requests on your server. Apart from genuine users, these could potentially be automated scripts, (mostly harmless) bots or crawlers, ethical/non-ethical hackers or some curious geeks (like me).
One of the key areas of interest for them is to exploit the authentication or login system of an application. Compromising the security of your users’ accounts can lead to severe consequences such as the leak of their personal information, misuse of their identity (or your platform), and can even cause financial losses.
It is of utmost importance to ensure that healthy security standards are implemented. These include enforcing strong Password Policies, employing salted password hashing, adopting HTTPS, preventing brute force attacks, utilizing two-factor authentication and so on.
Securing a Drupal site is a vast topic in itself, but in this article, we will focus on understanding the default flood control mechanism and then later explore the usage of Login Security, a contributed module, to enhance the security.
Default Flood Control Mechanism of Drupal
In Drupal, User, a core module, is responsible for providing the features related to user account management such as authentication, logging in/out, password management, registration, roles, and permissions. It also does a basic yet effective prevention against brute force attacks using its flood control mechanism.
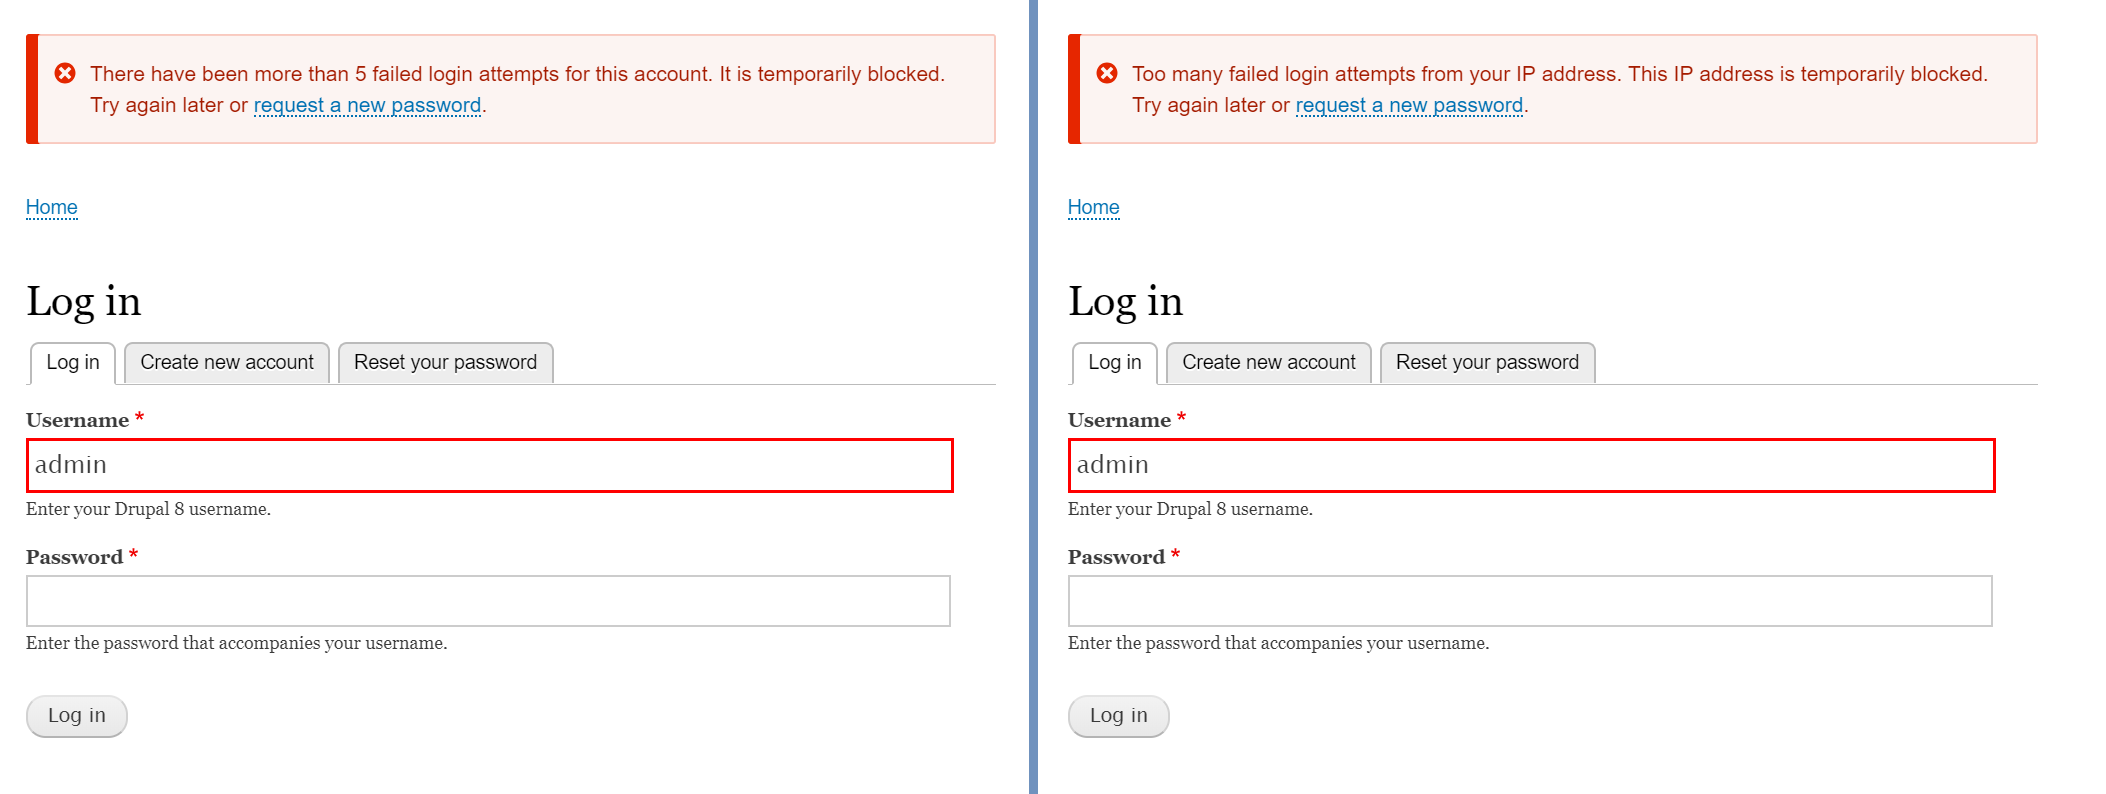
Whenever a user authentication fails, it is considered as a flood event and its entry is made in the “flood” schema storing the event type, user identifier, timestamp, and expiration of this flood event. There are two ways (flood event types) in which Drupal keeps a track of login failures – IP address based, and user account based.
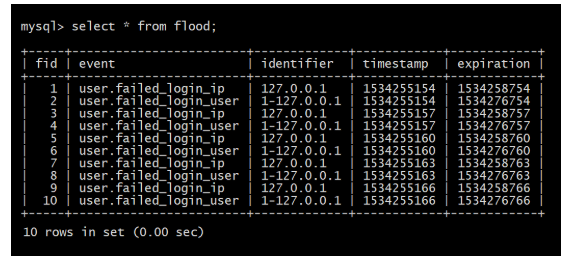
By default, an IP address gets blocked if there have been 50 login failures from that IP address within an hour. Also, the combination of the user account and the host IP address gets blocked if there have been 5 login failures for that user account from that IP address within a span of 6 hours.


However, there are mainly two limitations of this default mechanism.
- There is no user interface for site administrators to configure the allowed number of login attempts and blocking time period.
- There should be some way to alert the site admin or the user whose account is being exploited.
Now, let us explore how we can use Login Security to overcome these limitations.
Downloading and Installing Login Security Module
The only prerequisite of the module is the core Ban module. Once you’ve made sure, it is enabled, you may proceed with installation of the Login Security module using any of the below methods.
$ drush dl login_security && drush en -y login_security
or
$ drupal module:download login_security && drupal module:install login_security
or
$ composer require 'drupal/login_security:^1.5'
After downloading the module using composer, enable it from the admin UI available at admin/modules.

How does the Login Security module work?
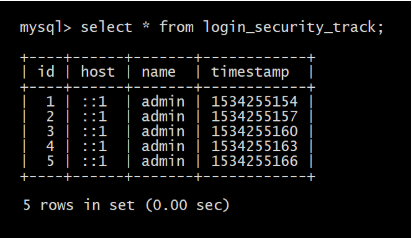
The module works by implementing hook_validate(), thereby overriding the default login form flow. It maintains its own schema, login_security_track, to keep a track of failed login attempts. It can detect an ongoing attack using the configured threshold value within a set time window and can also alert the site administrator through email or logs.
It offers two types of protection against the attacks – Soft and Hard. The soft protection is similar to the default flood mechanism, that is, it temporarily blocks the user from submitting the login form. The hard protection, however, permanently bans the host IP address and changes the status of the user account to blocked.
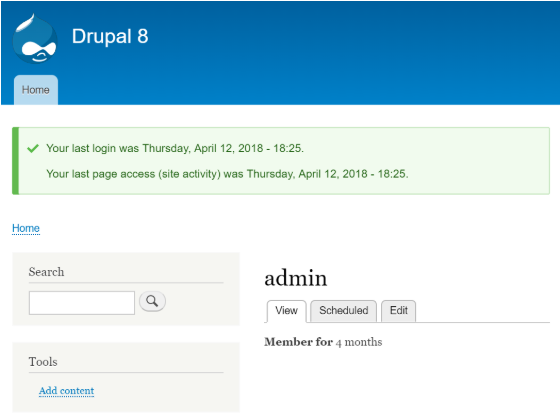
If needed, the site administrator can unban the IP addresses from the admin UI available at admin/config/people/ban and unblock the users from admin/people. Additionally, it can also be configured to display the last access and last login timestamp to the users to further comfort them of their security.
Configuring Login Security
The module provides a configuration form under admin/config/people/login_security. So, navigate to Manage → Configuration → People → Login Security.
You may configure the following options as per your security needs and then hit “Save configuration” to apply the changes.
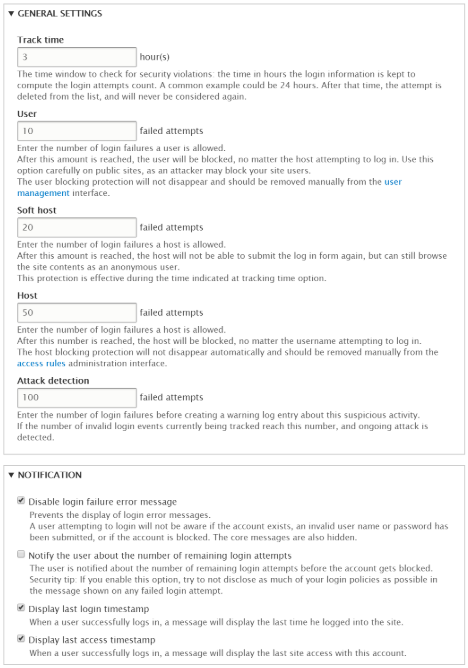
|
Configuration |
Default Value |
Description |
|
Track time |
1 |
The time window for which the login failures are considered. Soft protections expire after this time |
|
User |
0 |
Max. number of login failures after which a user account will be permanently blocked |
|
Soft host |
0 |
Max. number of login failures after which an IP address will be temporarily blocked from submitting the login form |
|
Hard host |
0 |
Max. number of login failures after which an IP address will be completely banned using the core ban module |
|
Attack detection |
0 |
Max. number of login failures after which an ongoing attack is detected and a warning is logged |
|
Disable login failure error message |
False |
Display the core login error messages |
|
Notify user about remaining login attempts |
False |
Display the number of attempts remaining before the user account will get temporarily blocked |
|
Display last login timestamp |
False |
Display a Drupal message with the last login timestamp of the user |
|
Display last access timestamp |
False |
Display a Drupal message with the last activity timestamp of the user |
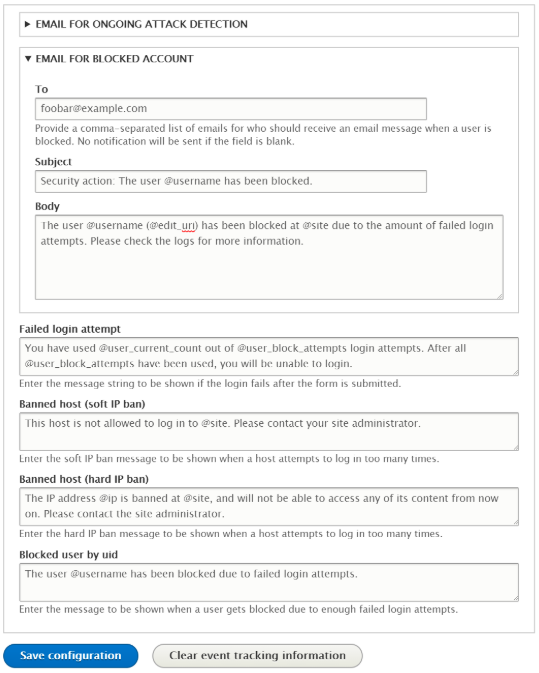
Along with these configurations, the text within the Drupal messages on the events (failed login attempt, hard/soft IP address ban, and blocking of the users), and the email fields (address, subject, and body) can also be configured. You may use the provided tokens to send a dynamic data in the alert/message.
Conclusion
The Login Security module adds another measure of security to a Drupal website. In particular, it allows greater control on dealing with a situation of a brute force attack. At the end of the day, however, ensuring security is not just limited to configuring the modules but also lies in the hands of people who administer and deploy the websites.
In case of any queries or suggestions, feel free to drop down a comment.
Subscribe
Related Blogs
Drupal's Role as an MCP Server: A Practical Guide for Developers

"The MCP provides a universal open standard that allows AI models to access real-world data sources securely without custom…
What’s New in Drupal CMS 2.0: A Complete Overview
"Drupal CMS 2.0 marks a significant change in the construction of Drupal websites, integrating visual site building, AI…
Drupal AI Ecosystem Part 6: ECA Module & Its Integration with AI

Modern Drupal sites demand automation, consistency, and predictable workflows. With Drupal’s ECA module, these capabilities…


